Hardcore Guide to 3D-Printed DIY Lower-Limb Exoskeleton: Recreating a "Protective Leg Exoskeleton" at Home with a Single 1-Meter TPU Filament
Components Overview and 3D Printing Filament List
Leg Exoskeleton and Consumer-Grade Assistance
A leg exoskeleton refers to the mechanical structure that covers the exterior of the human legs. Currently, mainstream consumer-grade exoskeletons are mainly divided into two categories: active assist and passive support.
1-Meter TPU
In this hardcore DIY build, the most critical material is a 1-meter TPU filament.
Consumer-Grade
As an open-source consumer-grade exoskeleton DIY project, this tutorial has caused a sensation in the geek community.

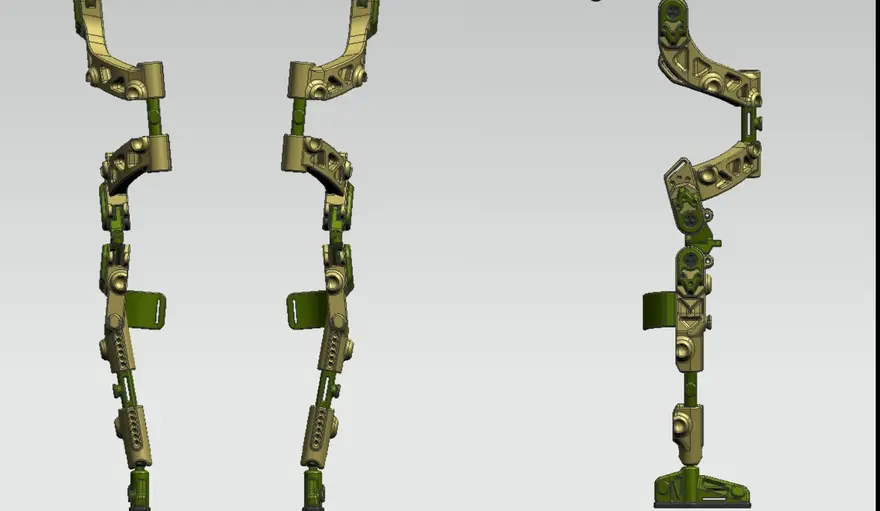
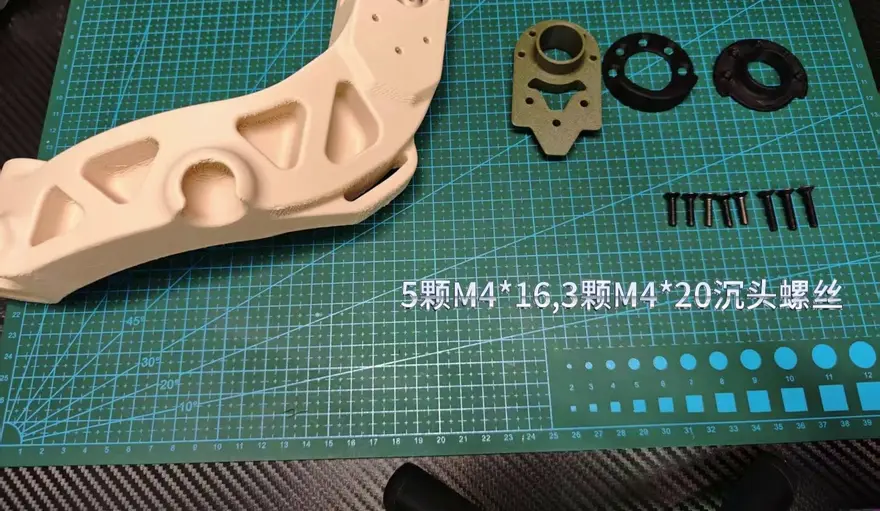
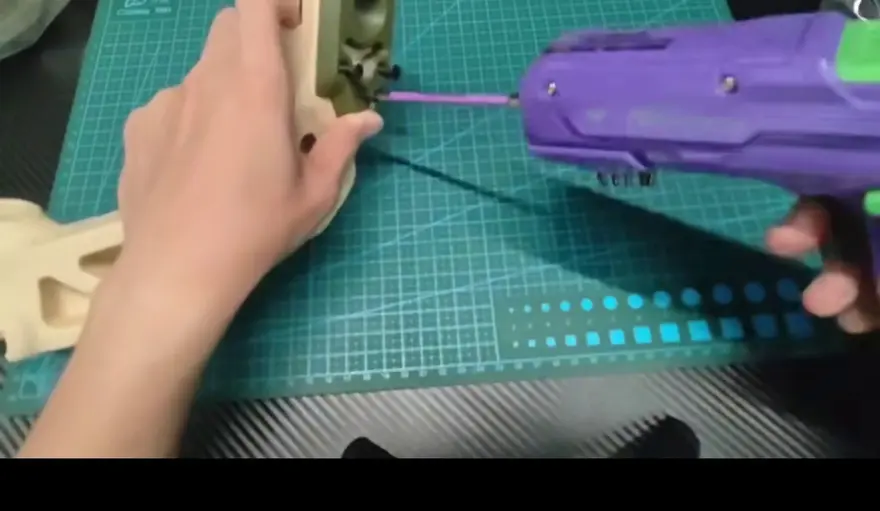
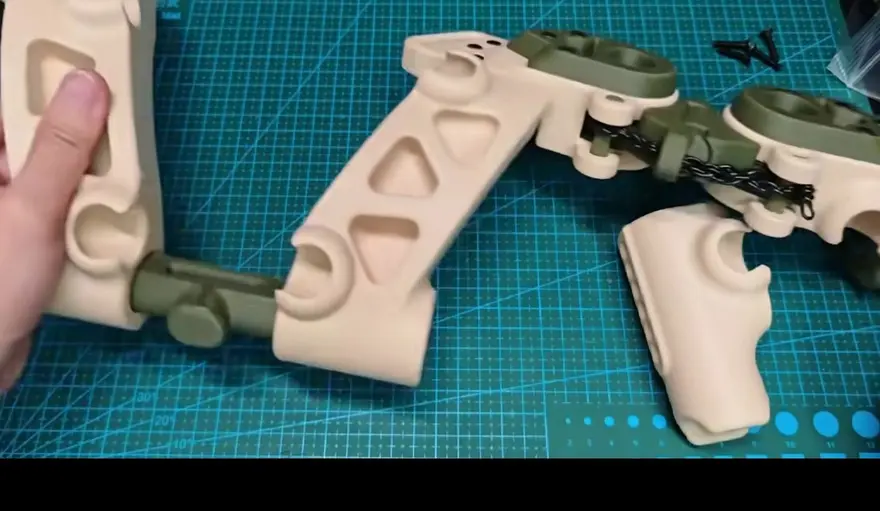
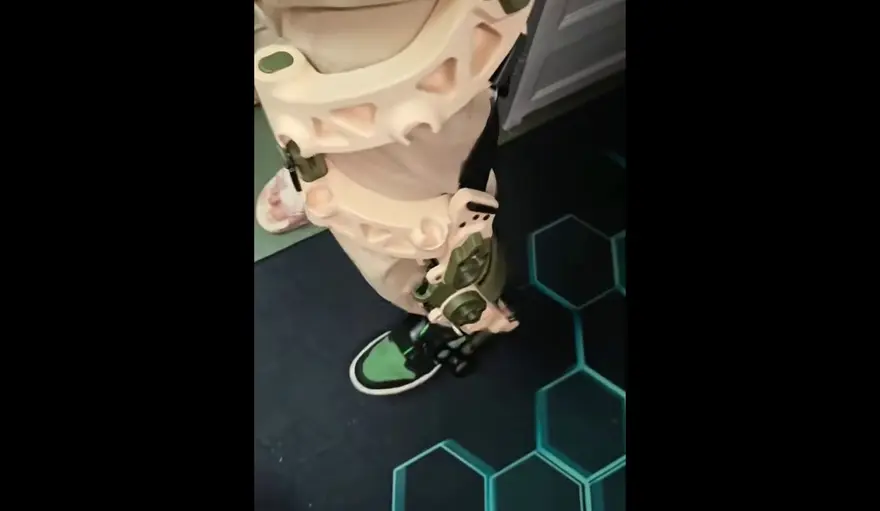
BOOM! With the buzzing of the motor startup, this leg exoskeleton composed of thigh and calf structures has finally been preliminarily assembled. Although it currently lacks an active power unit, it can already provide basic external support.
"Prepare a 1-meter TPU filament; this is the most critical raw material for the energy storage mechanism of the entire project." — mentioned in the video
Printing and Assembly of Structural Components
Core Structural Components
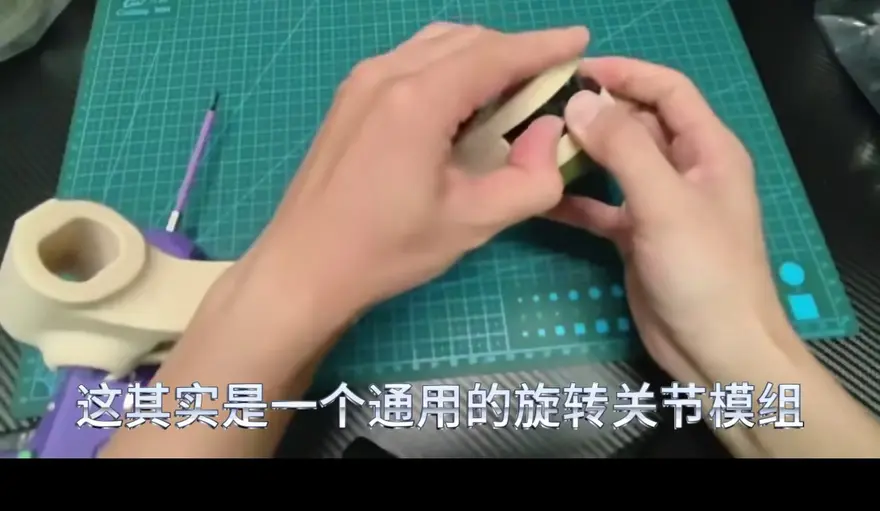
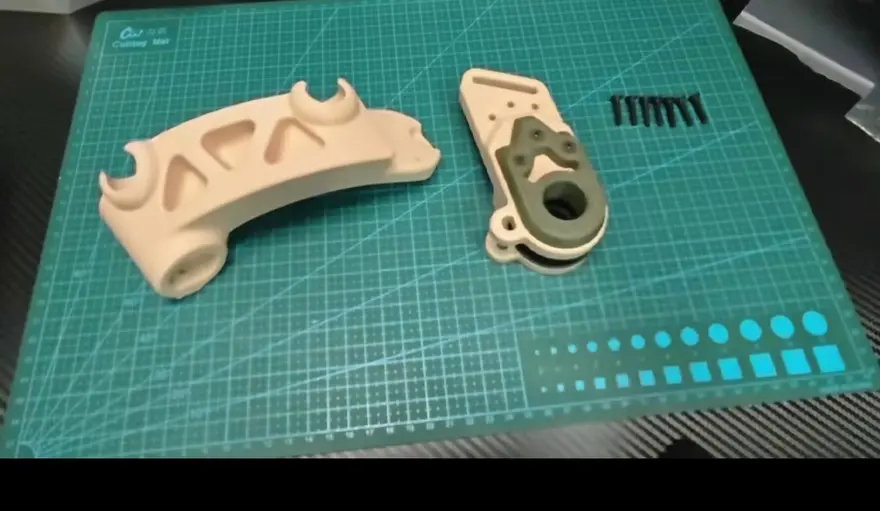
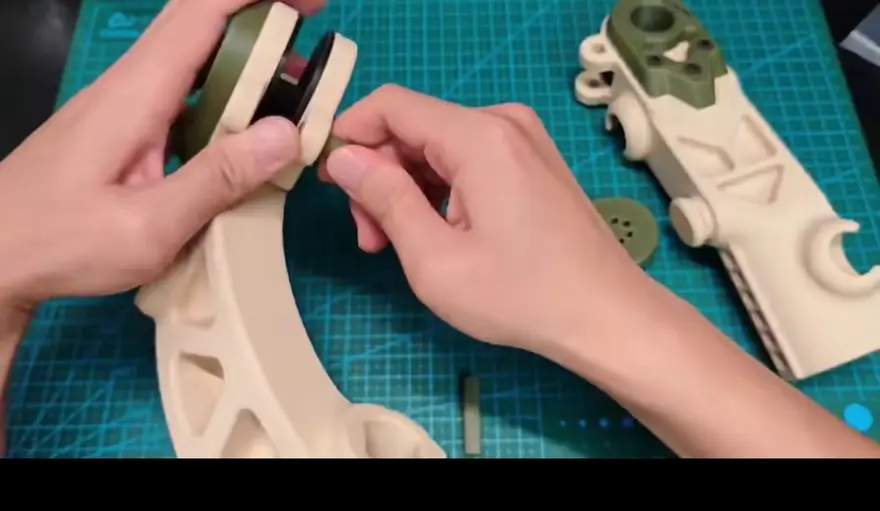
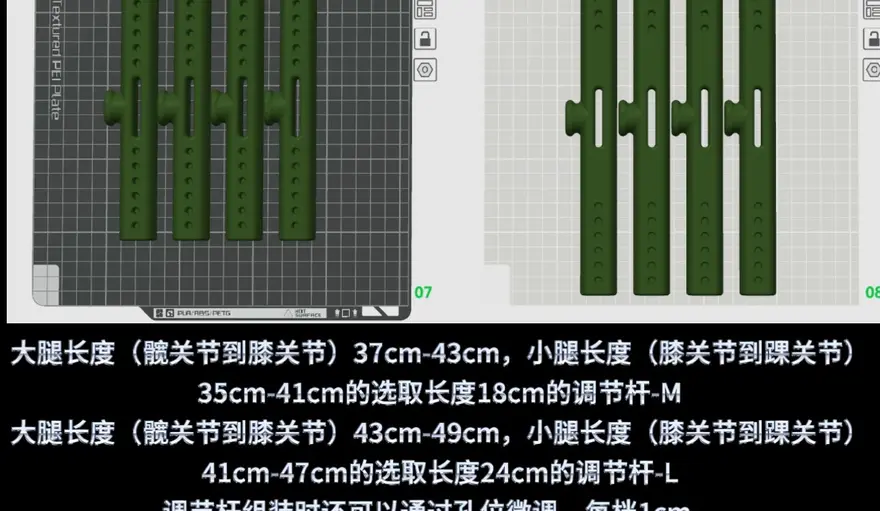
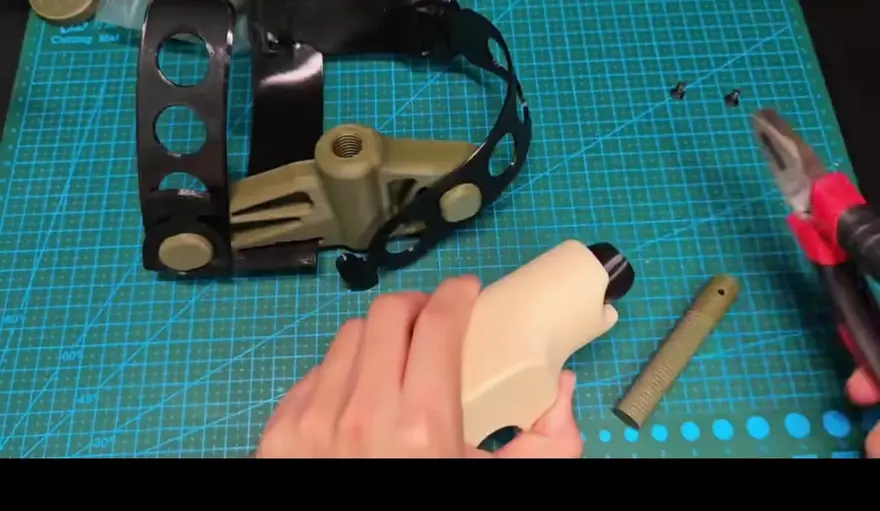
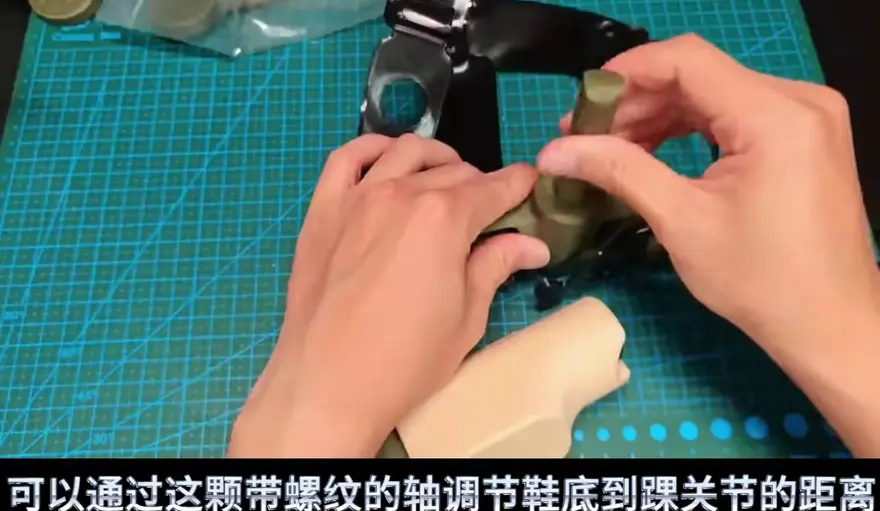
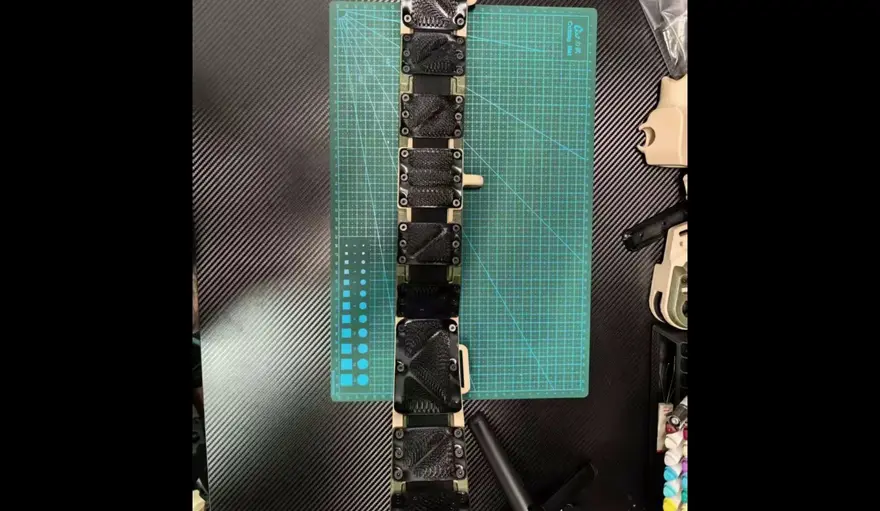
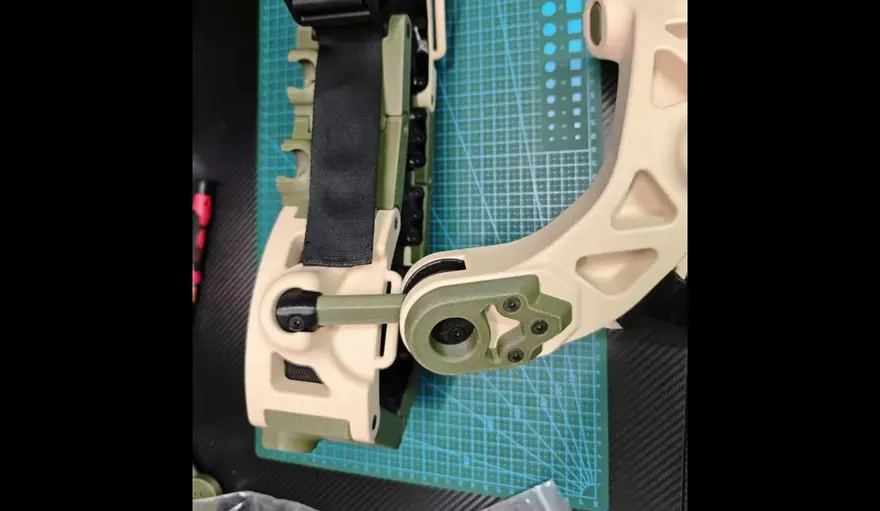
First, 3D print the thigh and calf structural components (the main frame supporting the entire leg) and prepare the rotary shaft covers.
Primary Material: PETG
To achieve a balance between strength and toughness, PETG is recommended as the filament material for these structural components.
Rotary Shaft Covers and Thigh/Calf Components
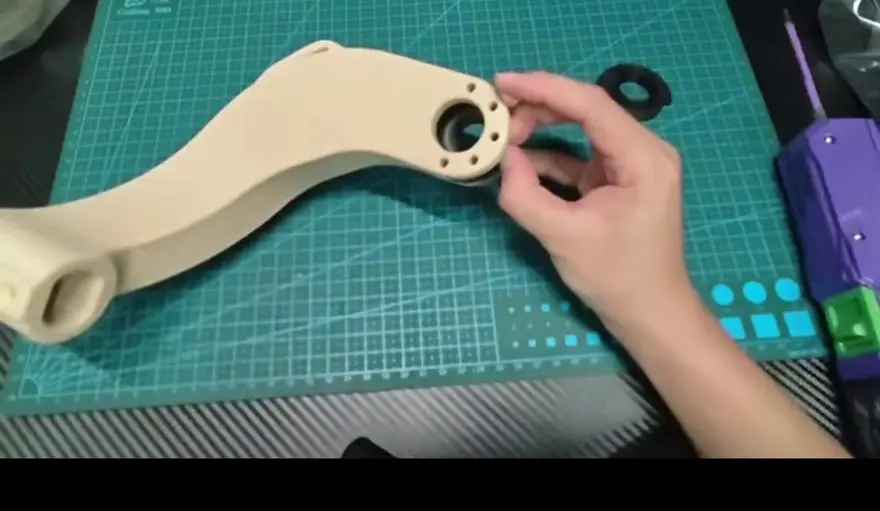
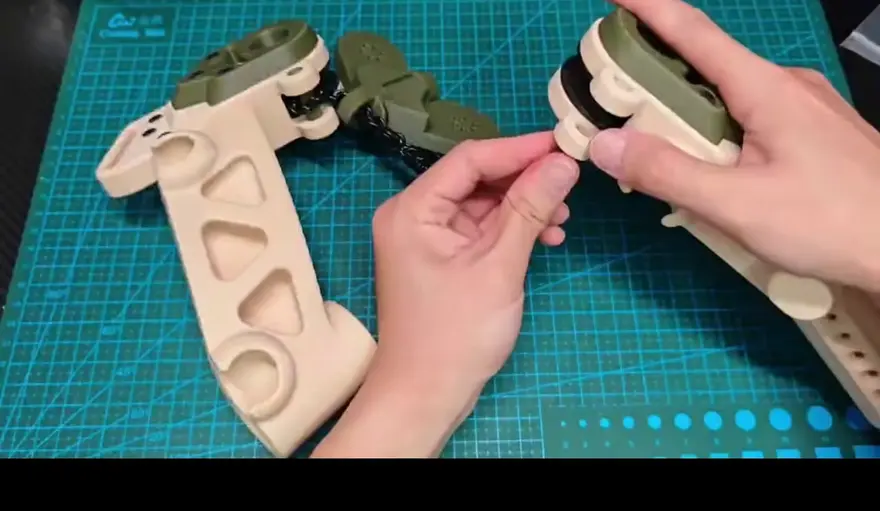
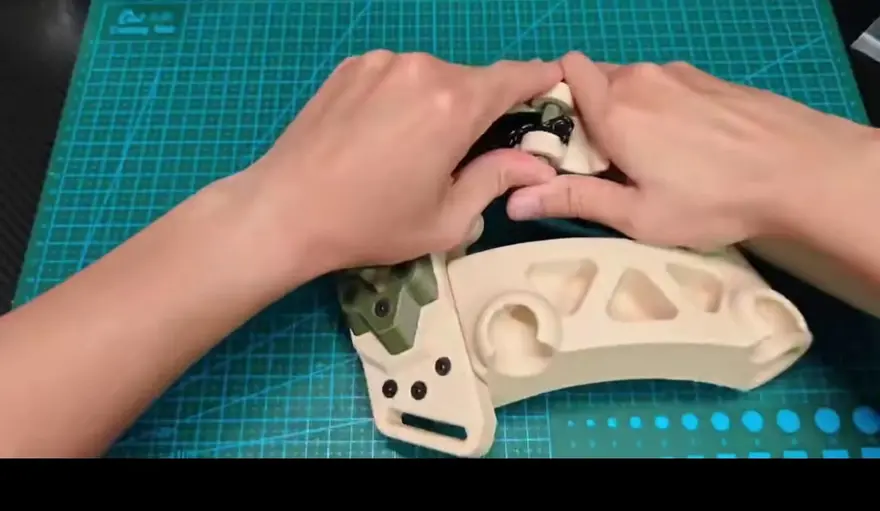
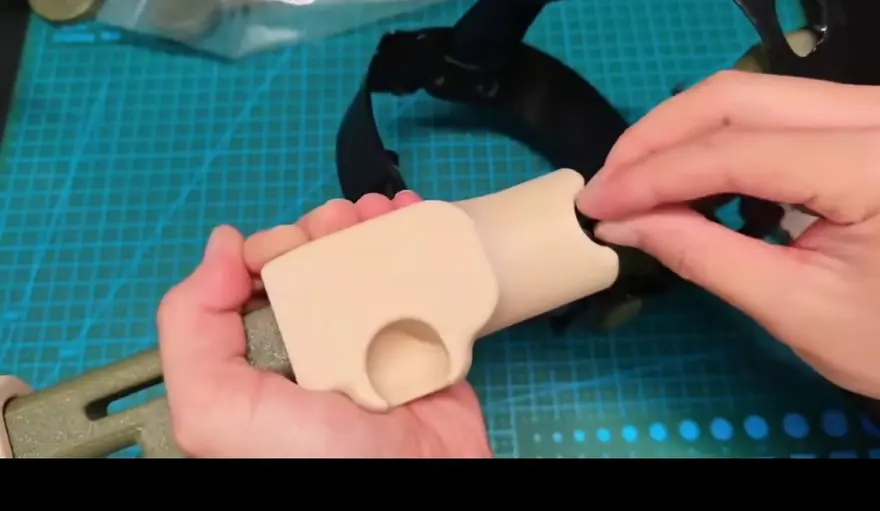
During assembly, first snap the rotary shaft covers into the upper and lower structural components of the thigh and calf to form the basic assembly for the thigh and calf sections.
"The upper and lower structural components for the thigh and shank are identically assembled. Print the rotary shaft covers and size M/L adjustment rods." — Mentioned in the video
Fabrication of an Elastic Energy-Storage Mechanism: TPU Torsion Method
TPU Filament Energy-Storage Tutorial
This exoskeleton adopts a purely mechanical elastic energy-storage mechanism, which is also the most ingenious part.
Energy-Storage Mechanism Fabrication Tutorial
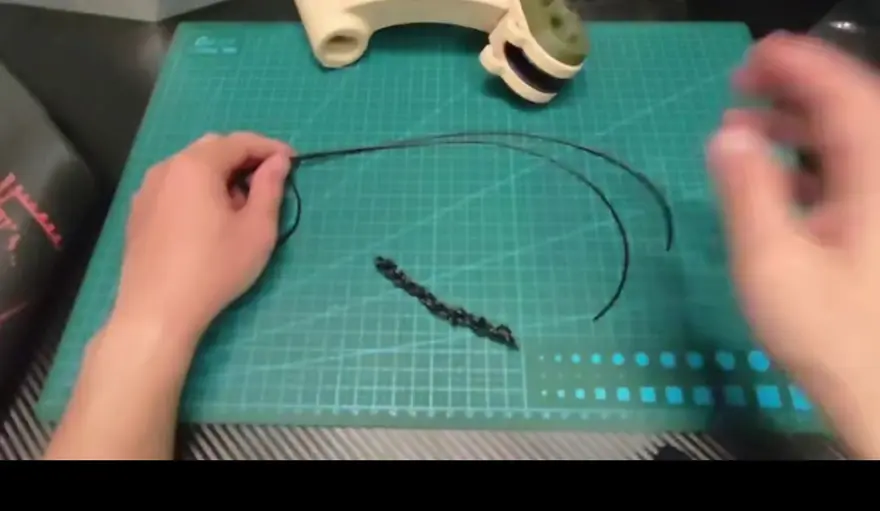
Turn the chair’s physical deformation into storable mechanical potential energy, using just four TPU filaments.
Twisting the Chair Into a “Twisted Rope”
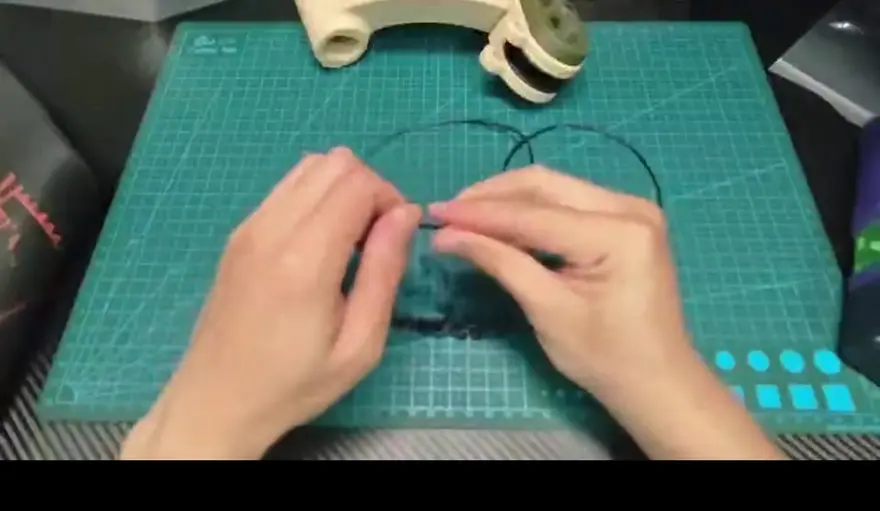
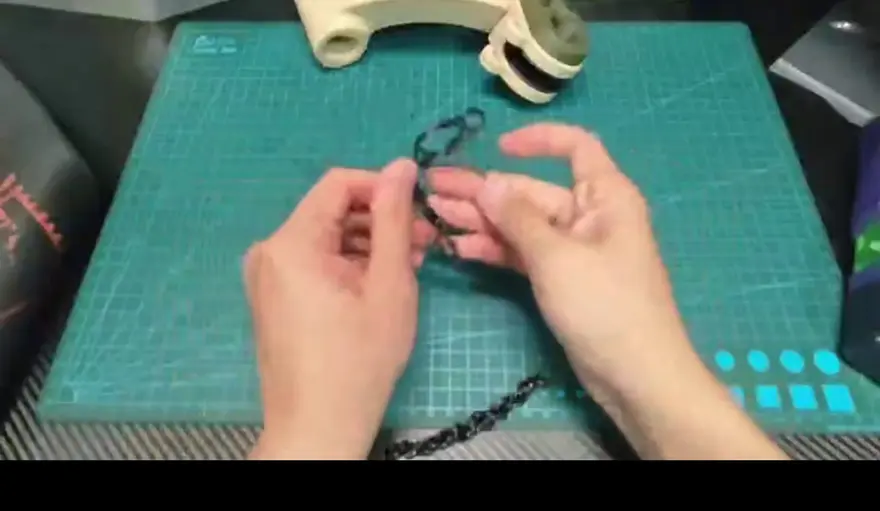
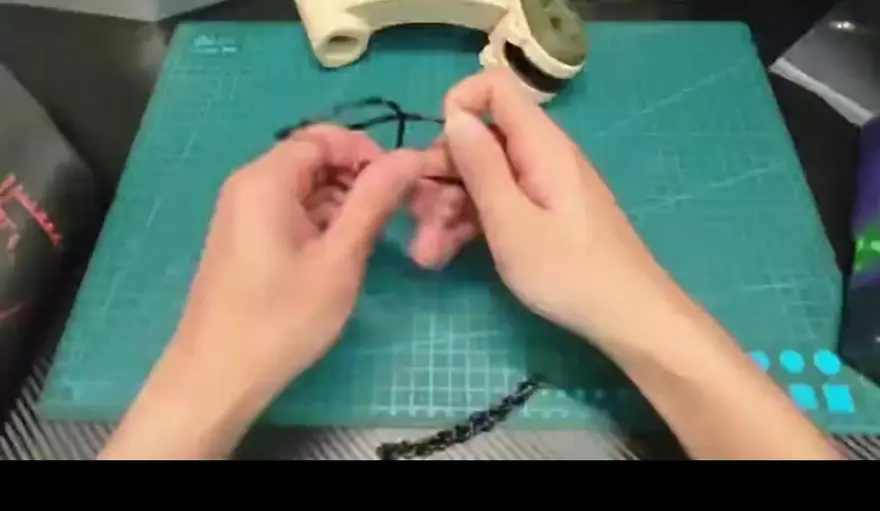
The fabrication process is full of geeky romance: first secure this 1-meter-long TPU filament to the chair, then rotate the chair to twist it into a rope-like shape.
"Twist the chair by rotating it into a rope-like shape, then keep twisting it further." — Mentioned in the video
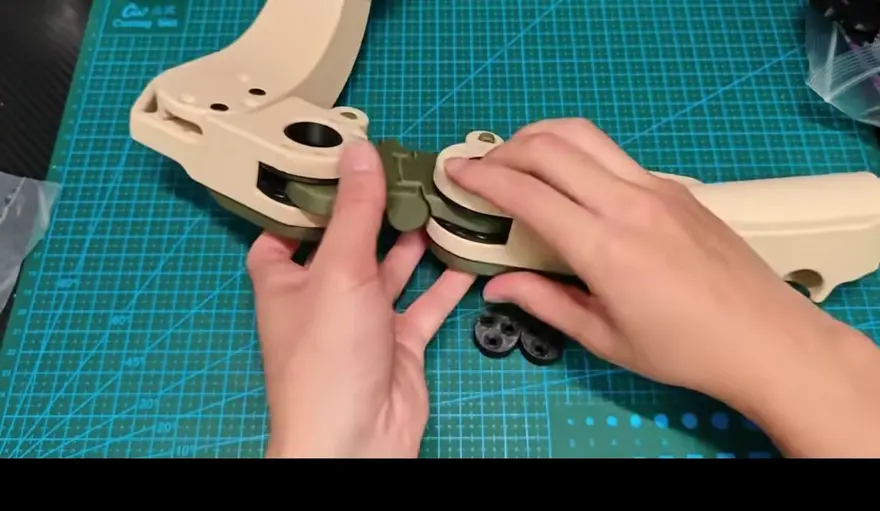
Joint Linkage: Combining the thigh and lower-leg structural components with energy storage
Four twisted into one line
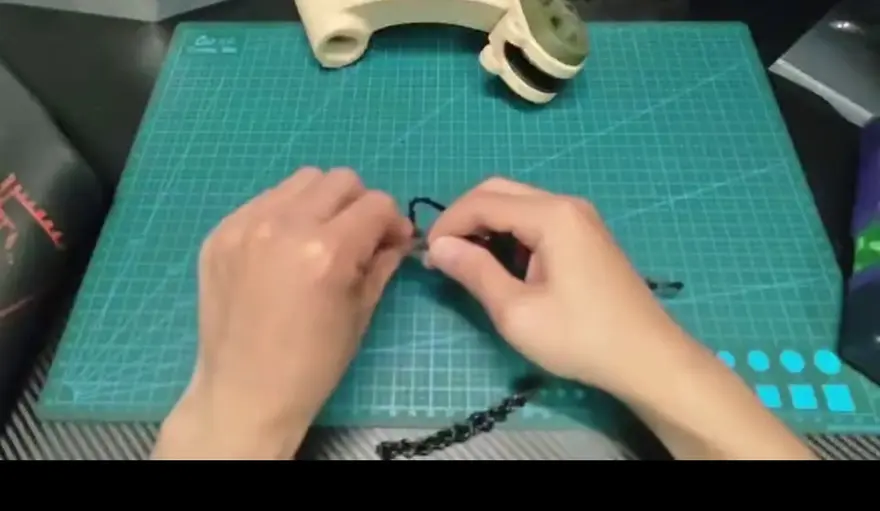
As the twisting progresses, the wire rope begins to develop significant tension. The four pre-twisted wire ropes are then combined side by side to form a thick energy-storage bundle.
Knot the ends to lock
Finally, one end is tied tight and secured, completing the basic locking step.
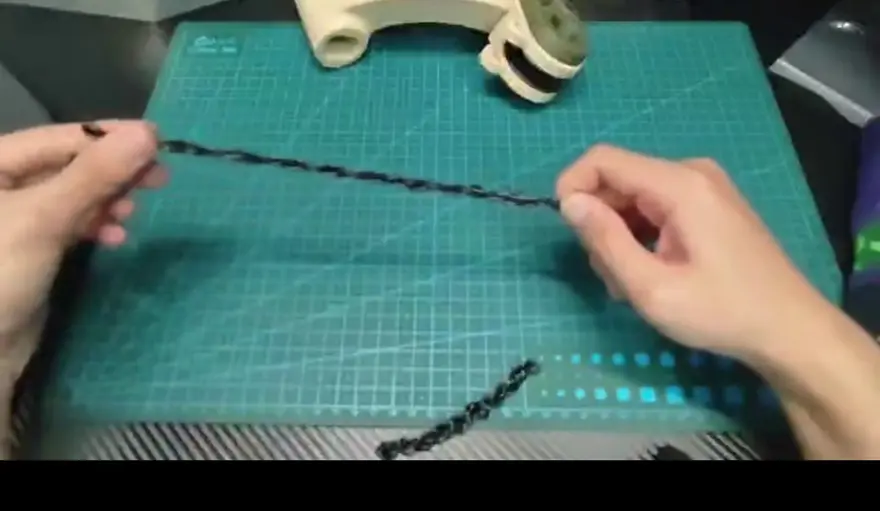
Keep twisting to store energy
The twisting then continues until the potential energy reaches the target maximum before moving on to assembly.
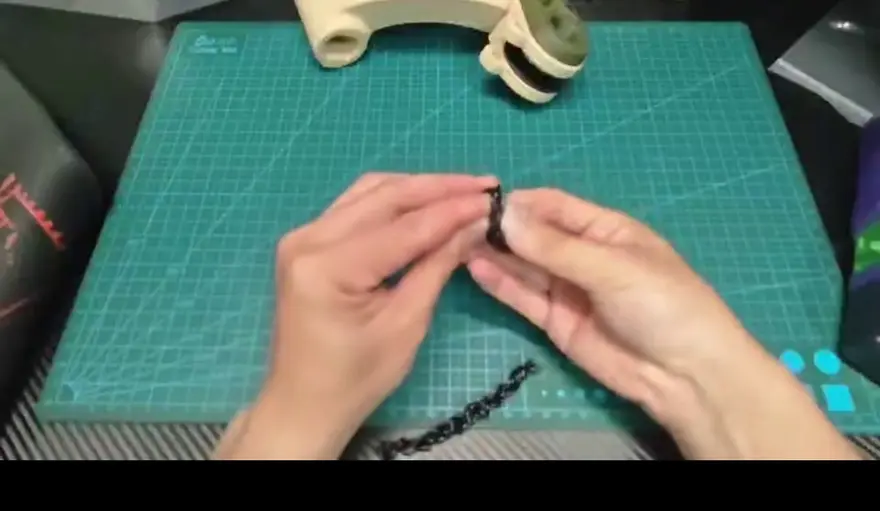
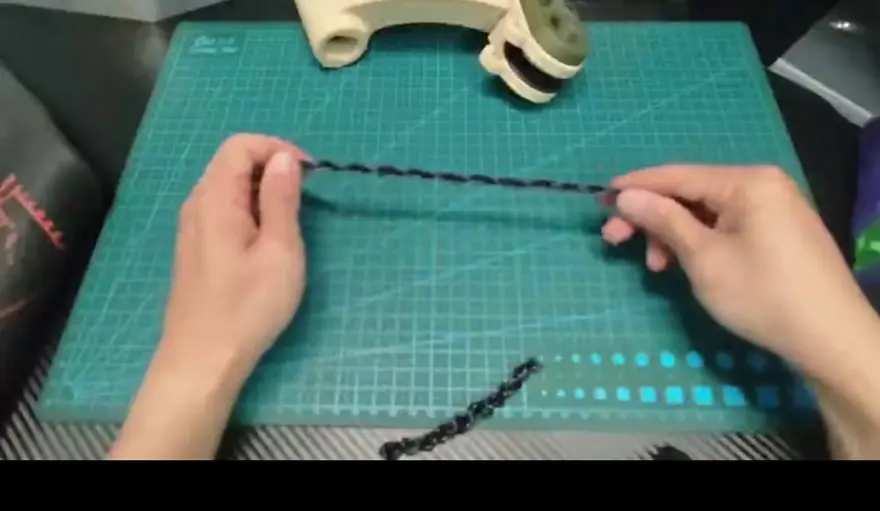
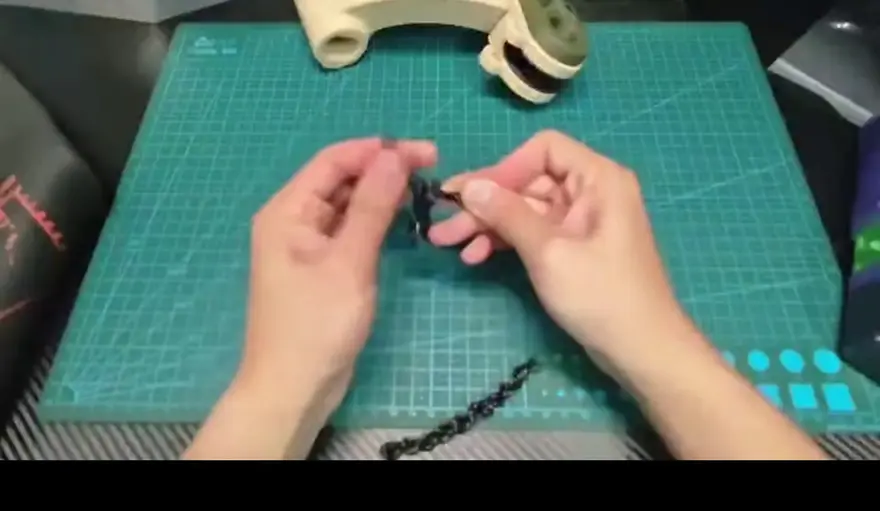
Foot Fixation Strap Assembly
Foot Fixation Strap Assembly
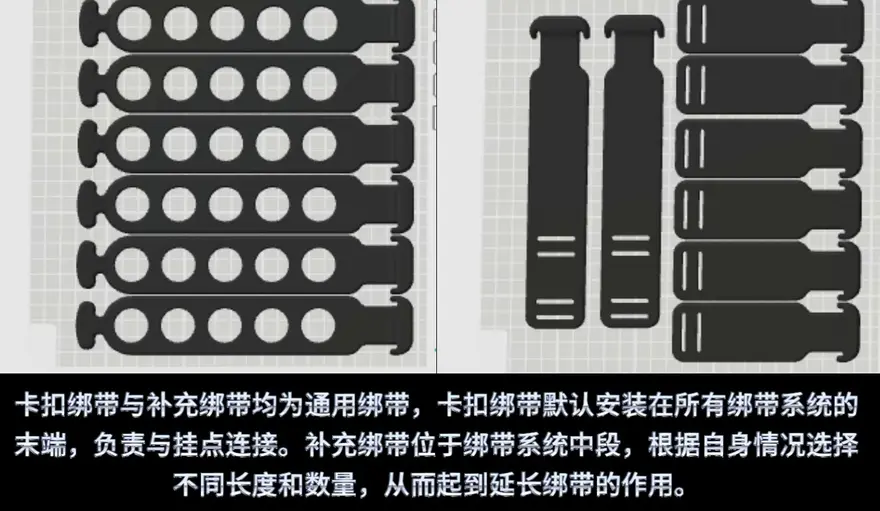
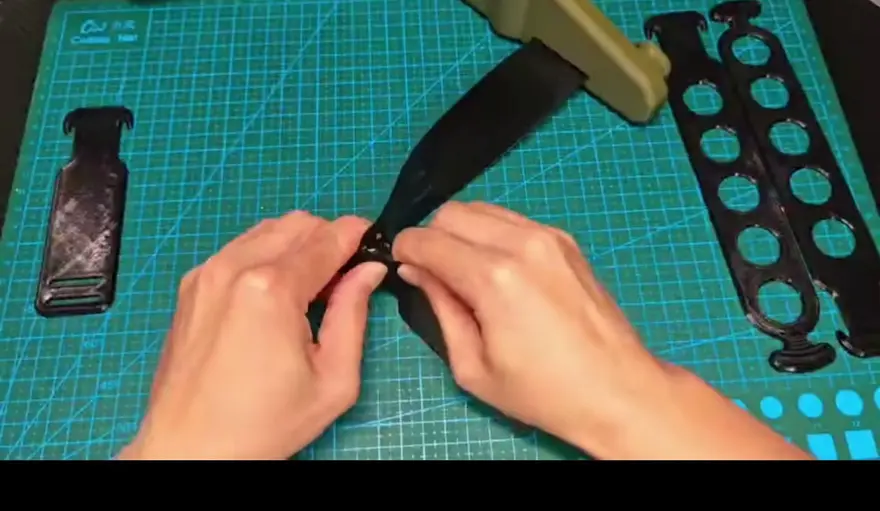
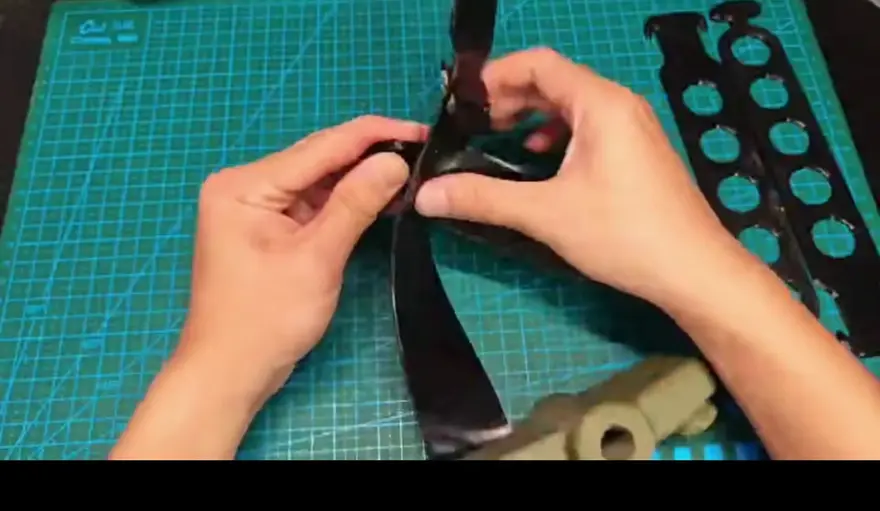
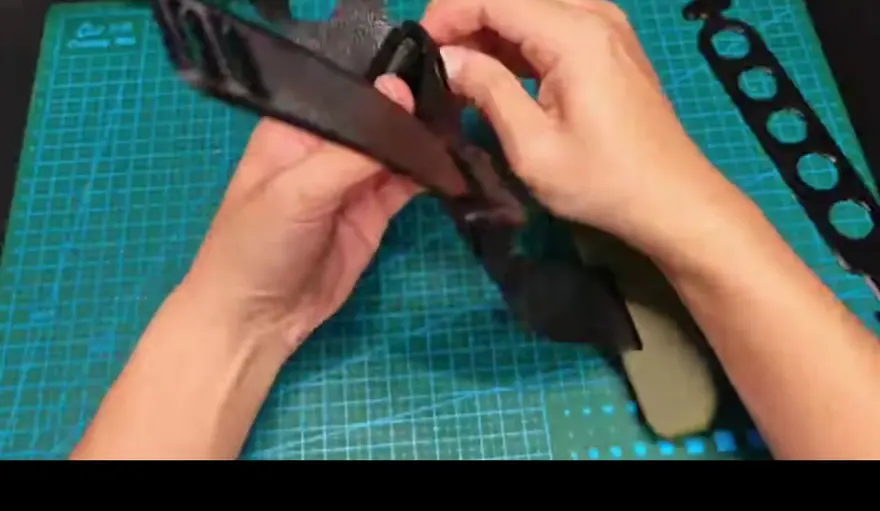
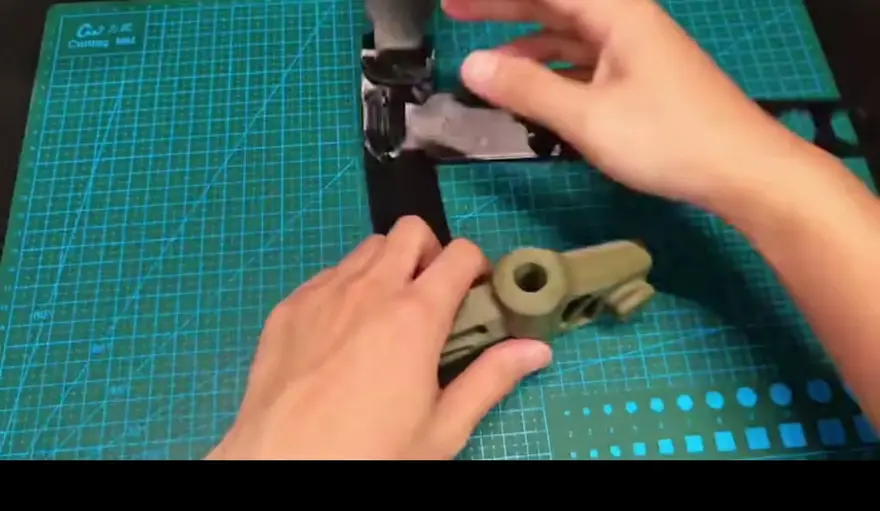
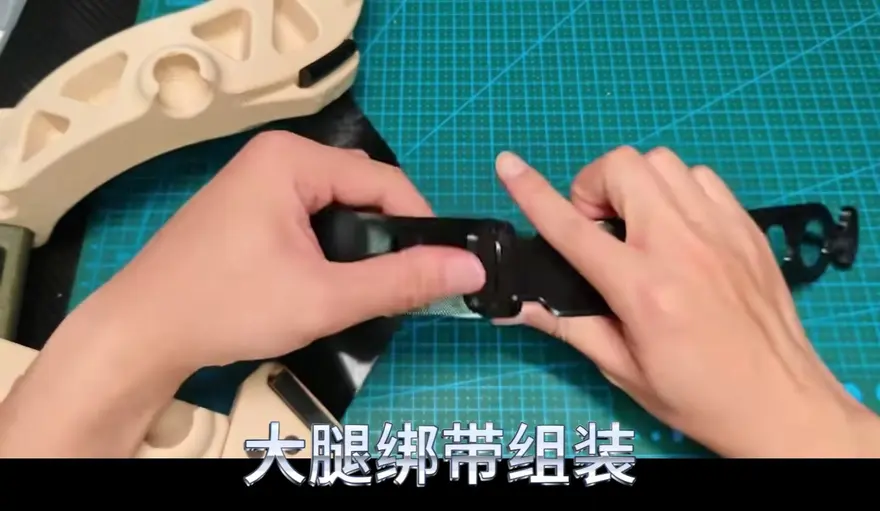
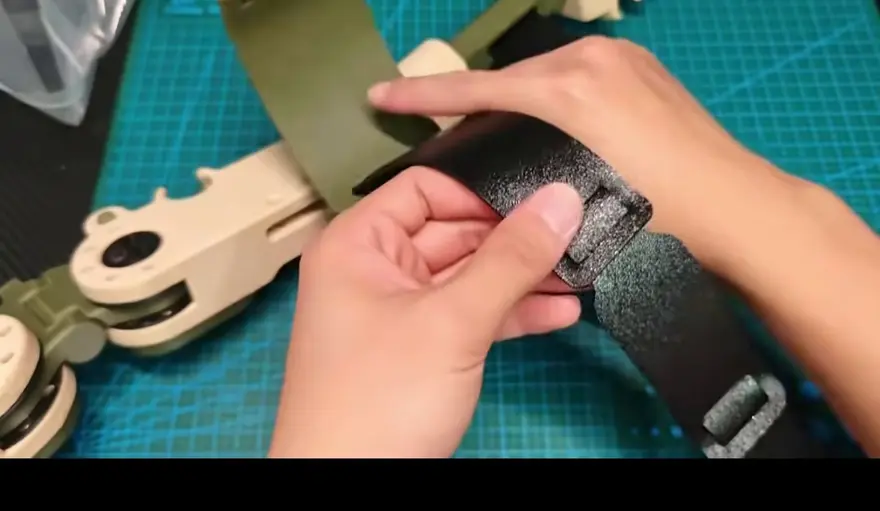
After completing the overall assembly of the leg structure, you need to prepare the foot fixation straps that connect the foot to the shoe.
Foot Fixation Strap Assembly
Use Velcro straps and hard-plastic buckles to ensure the straps securely wrap around the shoe.
TPU 80~90 Softness
The straps’ contact surface uses a TPU 80~90 material to provide comfort during extended wear.
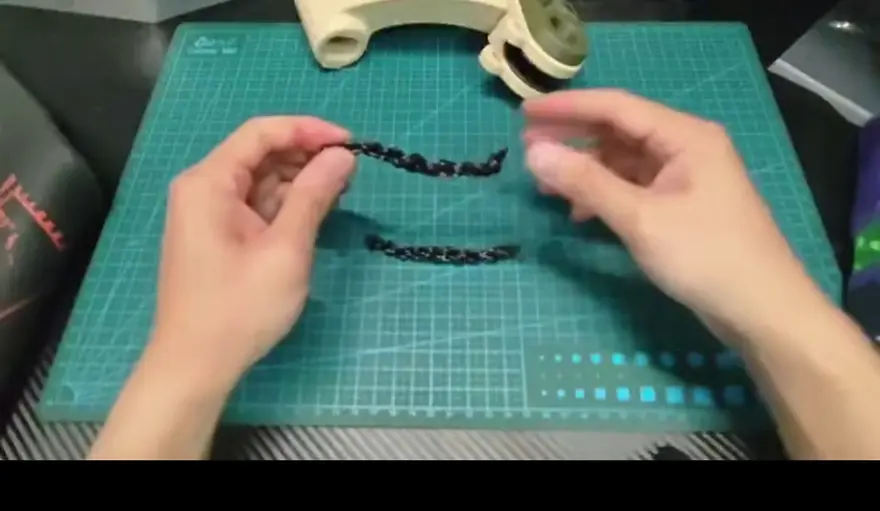
Upper-Body Adjustment and Waist Assembly
In addition to the leg structure, this mechanical exoskeleton also needs to form a unified whole with the human waist and torso. We need to perform upper-body calibration and the installation of waist components.
Upper-Body and Waist Assembly
The build utilizes a waist strap fastener, an adjustment buckle, and a soft pad. These structures firmly bind the lower-body structure to the waist.
PETG Structural Parts
The waist strap fastener and adjustment buckle are also 3D-printed with PETG material, which offers a certain level of toughness and strength.
PETG and TPU Pads
Meanwhile, the soft waist pad is crafted from a pliable TPU material to relieve pressure from hard components against the waist. Once assembled, the exoskeleton takes on a distinctly cyberpunk vibe.
Full Body Assembly: Strap It On and You Could Be the First to Climb [String] Mountain Overnight
After roughly ten-plus hours of extreme, microscopic-level tensioning and adjustment, this "compound exoskeleton" is finally assembled.
Final Assembly
All the lower-limb structural components and the lumbar assembly are integrated together, forming a complete passive assistive exoskeleton.
Final Form
The exoskeleton stands ready. Although it features a passive structure, its incredible elastic potential energy can still provide a significant power boost to the joints.
Hypershell X Comparative Analysis
While the DIY build's finish might feel a bit rough, the core concept behind this setup is actually very similar to the professional walking assist expert, Hypershell's consumer-grade approach. Similar to Hypershell X, it provides powerful support to the knee joint through a lightweight chassis and high-joint torque motors.
Critical Parameter Alert: This DIY build consumes approximately 2 meters (used in pairs) of 80-90 elastic TPU energy-storage strings, plus 8 meters of string for hip assist energy storage (optional). — Mentioned in the video
Principles and Comparative Boundaries: Does This Really Deserve the exoskeleton Label?
From a tech-media perspective, it's essential to set clear boundaries around what defines a DIY, purely mechanical exoskeleton.
Passive Assist
Without active servo motor drive, these purely carbon fiber or plastic exoskeletons focus their assistive function on shock absorption and passive support, rather than delivering active upward lifting or propulsive force.
Hypershell X vs. Aoshark
Compared to mature commercial products like Hypershell X and Aoshark, the DIY version still falls far behind in gait adaptation and joint torque control. It lacks active self-balancing and fall protection mechanisms; instead, its core principle relies on stored elastic potential energy to help take weight off compromised knees.
The distinction from a rehabilitation exoskeleton
Unlike the consumer-grade walking-assist exoskeletons offered by companies such as Aoshark and Hypershell, the core logic here closely mirrors the purely mechanical spring principle of Hypershell X, rather than functioning as a medical rehabilitation exoskeleton.
Pros & Cons Evaluation and Use Cases
Pros and Cons of a DIY Exoskeleton
To be fair, this purely DIY structure has its limitations. It is heavy, can cause fatigue on long-distance hikes, and since it's a non-motorized build, its endurance (in hours) depends solely on user pacing without a power assist.
Compared to Commercial Products
When compared to mass-produced products like the Hypershell X from Yuanyé (priced in the mid-thousands of RMB) or the more lightweight exoskeletons from Ao Shark, this DIY solution is significantly limited by its material strength and lack of an active control algorithm. This makes it difficult to provide consistent, stable walking assist on steep mountain trails.
Applicable Scenarios
This DIY setup is better suited for hardcore enthusiasts as a collector's display piece, a prop for film and television, or for slow walking experiences on flat, smooth surfaces in a park.
Top Community Comments
"Could the class rep make a video for our convenience, and suggest pairing it with the tutorial (typed out by hand)……"
- @TieGuZhengZhengTG: This comment provides a complete video chapter timeline and an extremely detailed printing consumables allocation table (including PETG and TPU materials). It shows that what the audience cares about most is how to complete the creation with low cost and high efficiency, and that the practical barriers of DIY (such as consumables allocation) are the core pain points for users.
"Let this absurd story end: I bought a printer just to build an exoskeleton to play with, this is so cool"
- @LetThisAbsurdStoryEnd: This comment reflects that among the consumer audience of exoskeletons, a considerable number of users are seeking cool appearances and DIY fun, rather than simply solving the burden of walking. Consumer-grade exoskeletons possess both toy and trend attributes.
"Fresh corpse os: Awesome! Following you [doge][doge][doge]"
- @FreshCorpseOS: This kind of meme-style passionate comment reflects that the entire content has extremely strong visual impact. Although its practical attributes are yet to be verified, its innovative form has successfully achieved viral spread within the geek community.
"Plastic Layman: Suggest replacing the rotational axis part with metal bearings. PLA is too brittle and easily breaks, safety first"
- @PlasticLayman: This comment points out the safety hazards in material selection for DIY exoskeletons. Although PETG has toughness, it is still inferior to metal when enduring high joint torque. This reveals the quality gap between DIY products and professional-grade products in core transmission parts.
"Robotic Arm Researcher: This idea is very interesting, it is similar to the professional Hypershell X concept, but lacks actively controlled IMU sensors and servo motors."
- @RoboticArmResearcher: A comment from a professional perspective that accurately points out the limitations of this DIY project. It cleverly borrows the structural concept similar to the top consumer-grade exoskeleton on the market, but the lack of sensor fusion and active feedback systems is the core reason why it cannot truly be used for high-intensity sports.
"Home Appliance Killer: Wearing this to climb mountains, I am afraid that my CX5 at home will install a propeller and take off"
- @HomeApplianceKiller: A humorous tease shows that the audience has already fantasized about the application scenarios of this high-energy device in extreme scenarios, and it also indirectly affirms the breaking of the imagination circle brought by this non-traditional thinking.
One-Sentence Summary
This is a hardcore 3D printing DIY lower-limb exoskeleton guide exclusively for geek players. Through a zero-cost passive support structure and a clever TPU energy storage mechanism, it enables you to experience hardcore mechanical charm without the need for expensive batteries and servo motors. It is highly recommended for players who love handcrafting and are passionate about tech deconstruction, as well as all consumer-grade exoskeleton enthusiasts looking to tinker around with a low-cost build.
About this article: part of Chinese-Made Exoskeleton Review Archive — an independent, regularly updated English archive of reviews of consumer exoskeletons made in China, edited from publicly available video transcripts. Not an official manufacturer page.
For inquiries and purchasing, contact lonlonago@foxmail.com. More in Exoskeleton · All articles.