Turning "Hard Labor" into "Breathing": An Immersive Hands-on and Gait Magic of a consumer-grade exoskeleton
1. Language: English
English
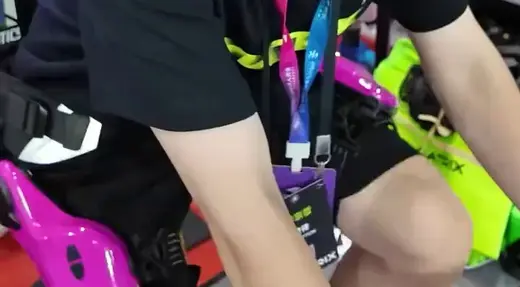
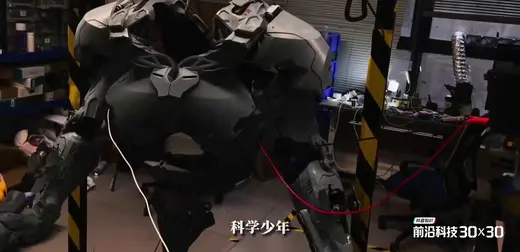
Today, as humanity continuously attempts to extend its limits through machinery, the consumer-grade exoskeleton is quietly moving from science fiction to reality. It is no longer a behemoth confined to laboratories, nor is it exclusively a rehabilitation exoskeleton for critically ill patients; instead, it has transformed into hardcore gear that ordinary people can wear to hike or enjoy a Citywalk. Recently, we got our hands on a lower-limb exoskeleton that emphasizes lightweight design and AI algorithms, and we conducted a deep hands-on test.
From unboxing to taking it off, to what extent can this device truly free our legs? Please follow our photo essay to dive into the wearing tutorial and the breakdown of its cutting-edge technologies.
__IMG0__
First Look: The Device and Initial Impressions
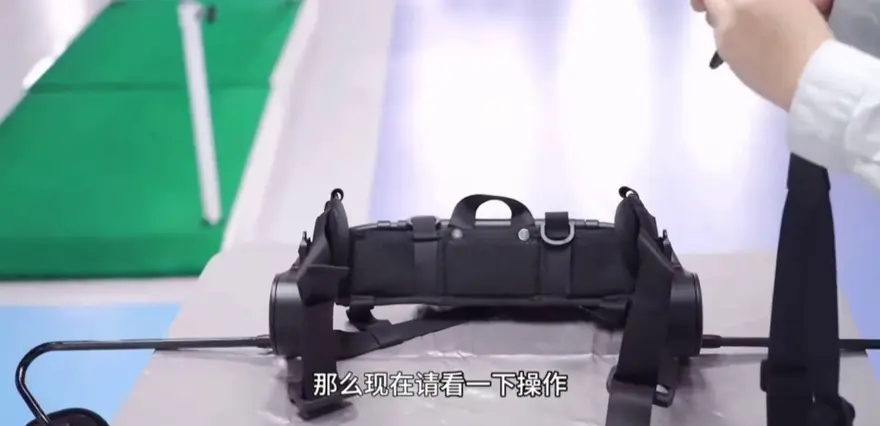
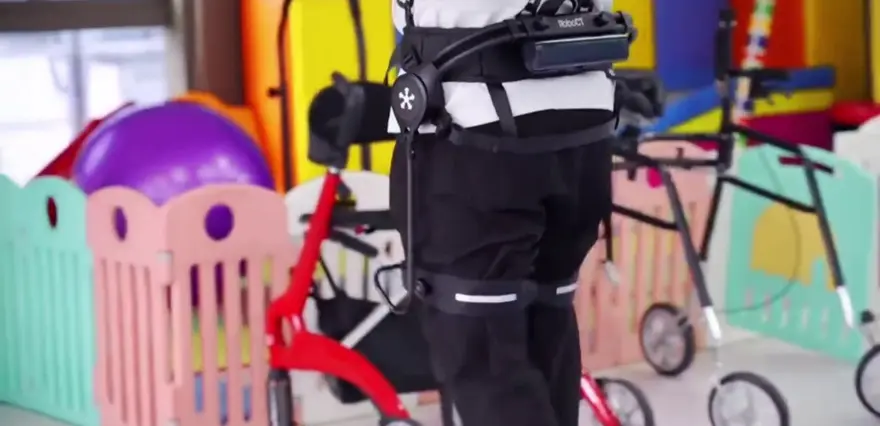
Opening the box, the first thing you see is not a full-on "Iron Man" suit, but a split mechanical structure. The kit consists mainly of two parts: a backpack-style main unit that hugs the back and waist (containing the battery, control hub, and shoulder strap assembly), and the left- and right-side leg exoskeletons (the actuators at the thigh sections) connected by straps.


In physical design, the device’s rapid-assembly philosophy truly shines. No tools are required; setup relies entirely on intuitive, by-feel operation. In the review world we often say good tech should be as natural as breathing—by that standard, this exoskeleton’s first impression clears the consumer-grade threshold with ease.
Upper Body Wear: Backpack Logic for an Effortless Fit
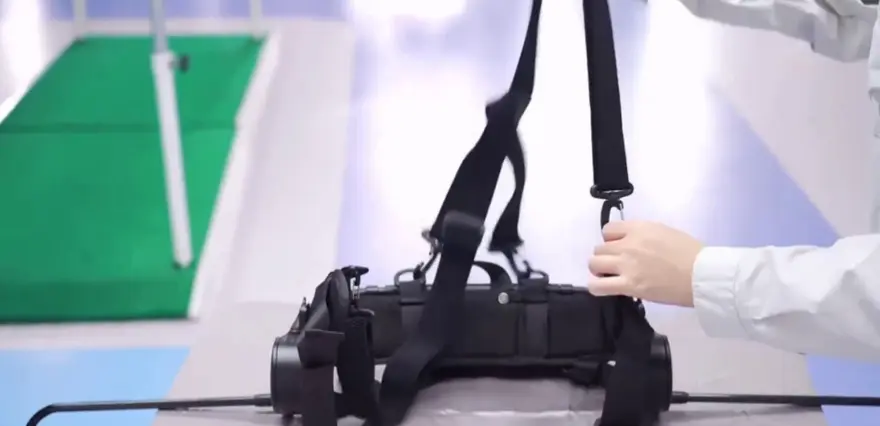
The first step in picking up the device is taking out the main unit and adjusting its length. The video details the operation: first, loosen the wide knobs on both sides counterclockwise, extend the frame to match the user's waist width, and then tighten them clockwise to lock. This mechanical adjustment method is highly common in premium photography equipment and professional exoskeletons, offering a crisp, tactile feel and ensuring a highly secure fit.
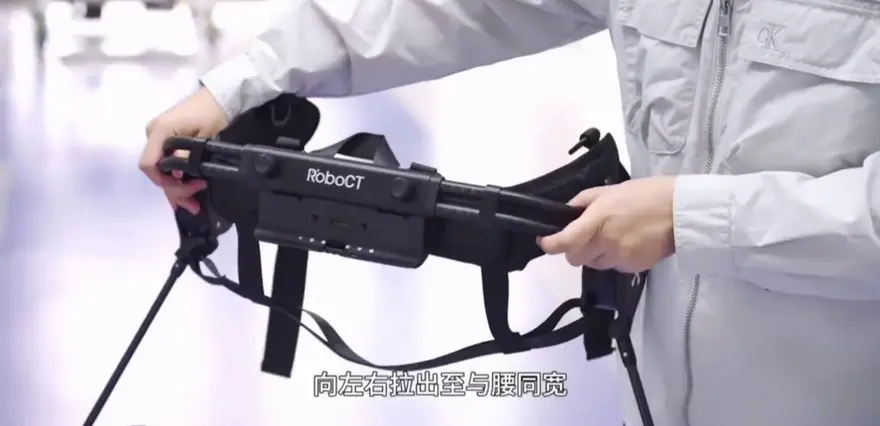
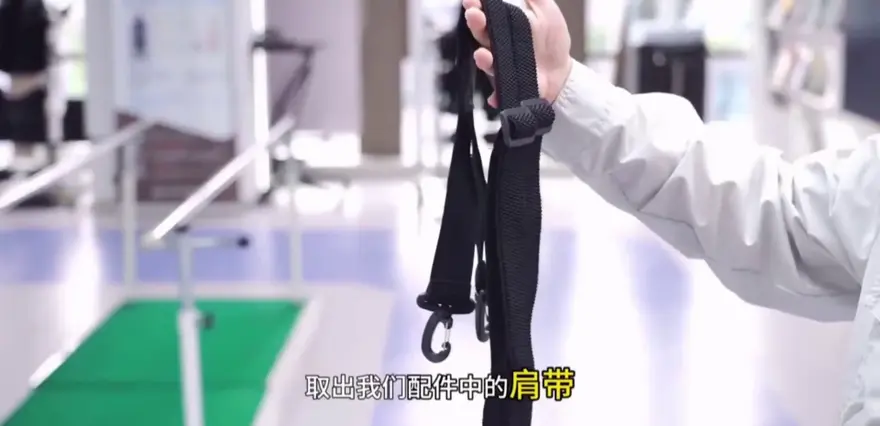
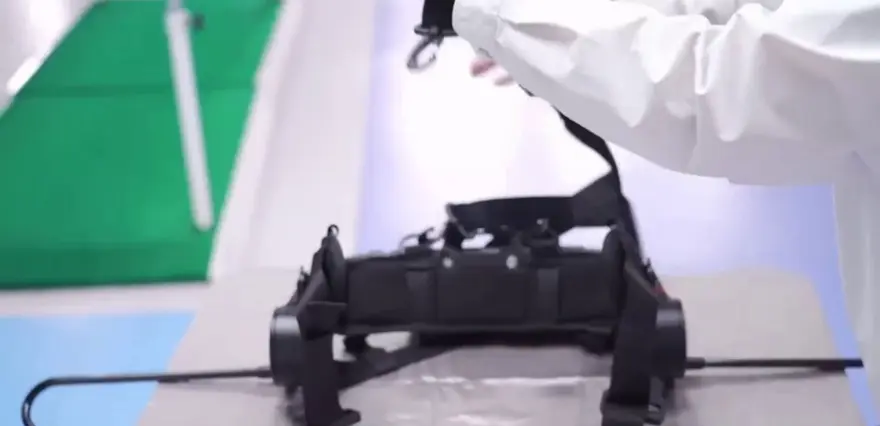
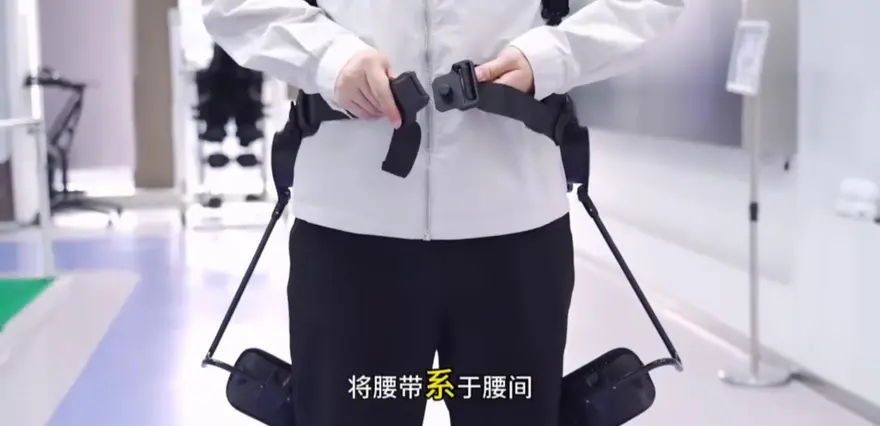
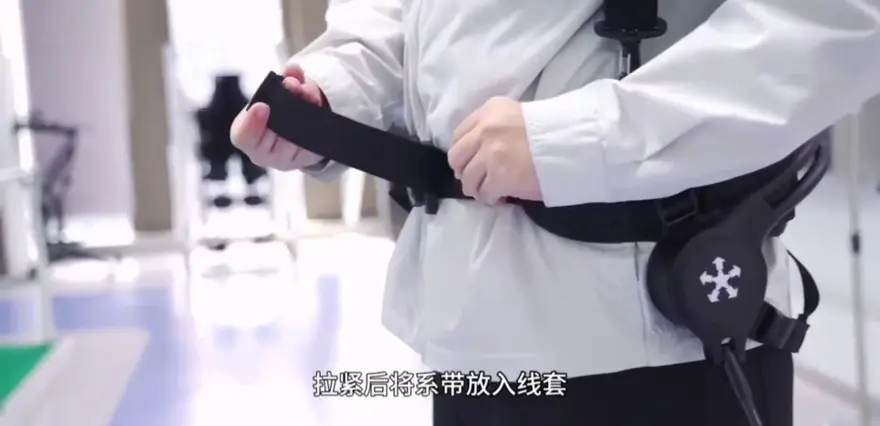
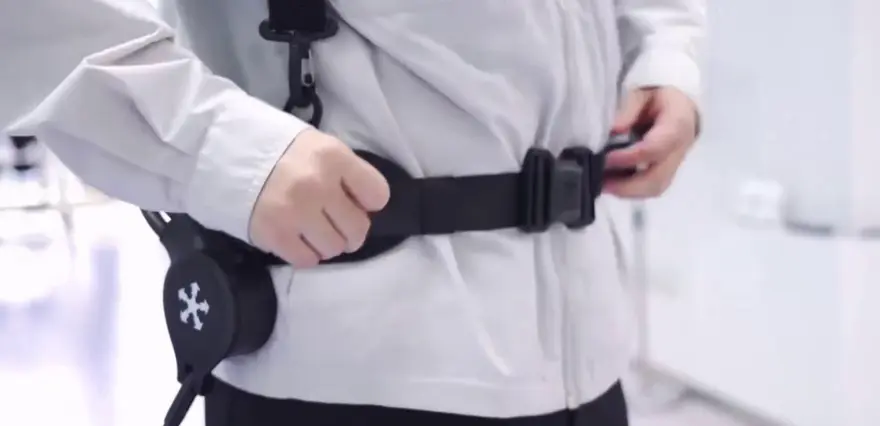
Next comes the shoulder strap installation. The straps are divided into long and short edges; the short edges attach to the rear of the unit, while the long edges fasten to the left and right sides. Once assembled, the entire process is as simple as putting on a backpack. Simply hold the device with both hands, slip it onto your back, and fasten and tighten the waist belt with its magnetic clasp.
Fastening system with magnetic clasp and buckle (as mentioned in the video setup).
With a snap, the magnetic clasp locks into place. Next, tighten the buckles on both sides, securing the waist firmly. This design not only ensures that the lower-limb exoskeleton doesn't shift backward during intense exertion, but also significantly lowers the learning curve for users.
Lower-Body and Joint Binding: Precise Anchoring of Sensors
If this is your first time using an assistive exoskeleton, securing the lower-body components may take a bit of patience. This step is crucial for transferring mechanical power to the human body and ensures the sensors can accurately read your gait.
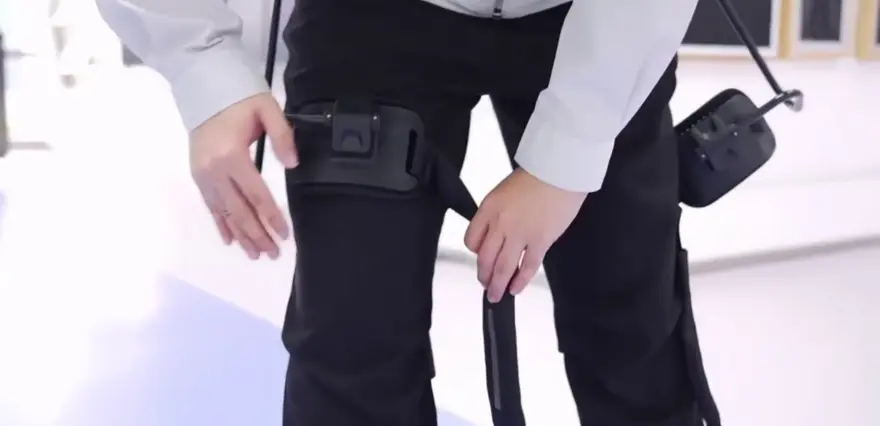
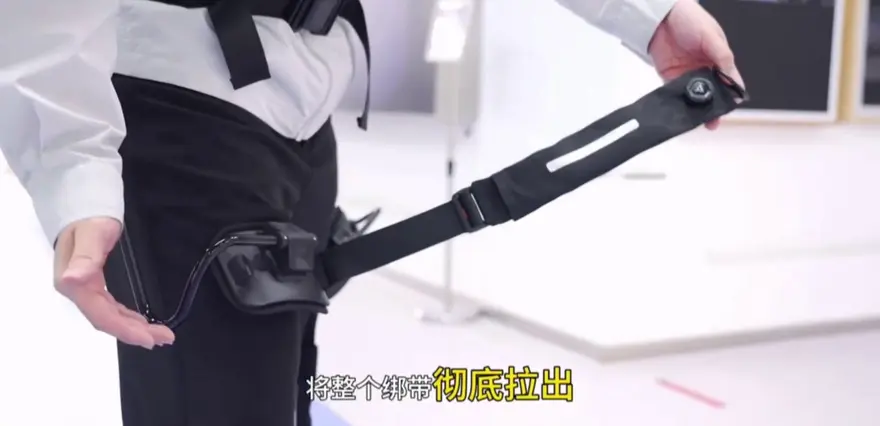
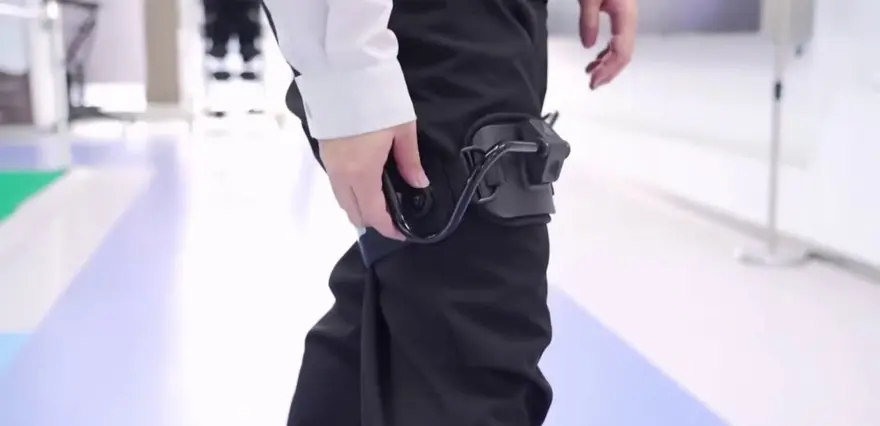
Begin by mounting the leg plates, securing them on the front side of your thighs just above the knees. Next, handle the leg straps: pull the knob to fully extend the webbing, loop it around the back of your thigh, and hook it to the corresponding point on the leg plate.
For an absolutely snug fit, the video provides a precise adjustment protocol.
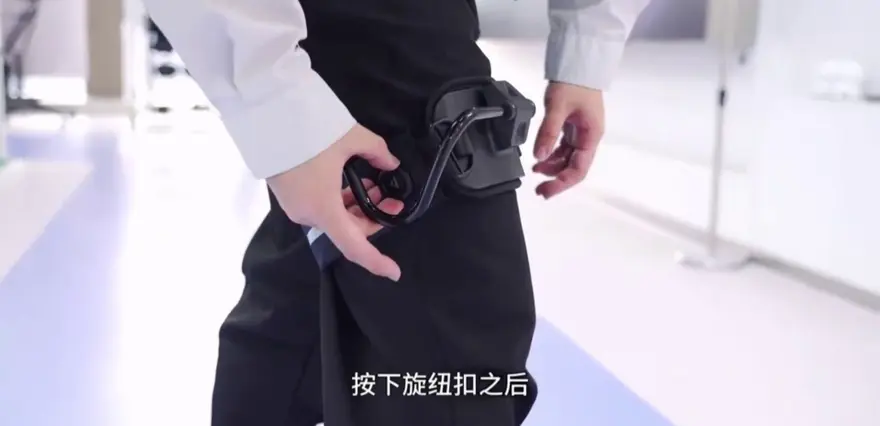
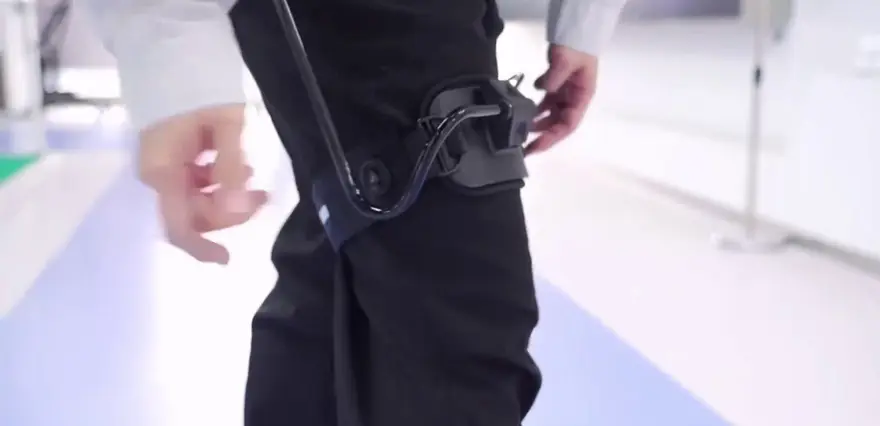
Press the knob and rotate clockwise to tighten the strap; rotate counter-clockwise to loosen slightly, then pull up to disengage the entire webbing for a quick-release takedown.
This quick-release strap-connecting structure is the key to ensuring a consumer-grade exoskeleton remains elegant even when it’s taken offline.
Power Supply and Axial Calibration: Building a Physical Baseline for Force Generation
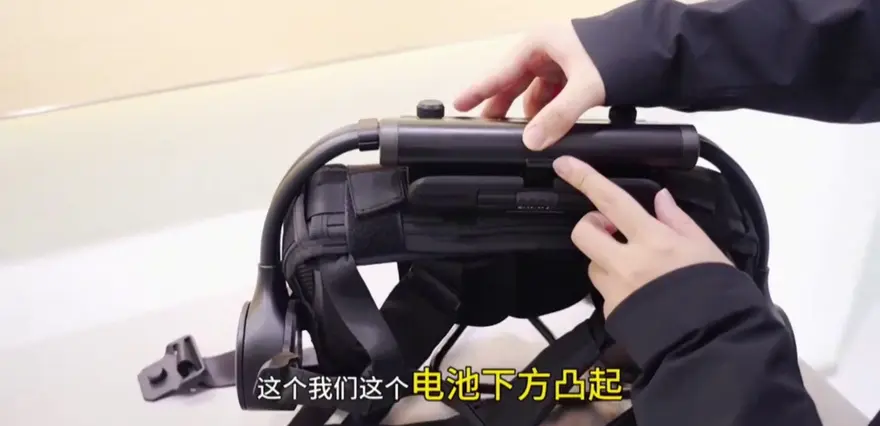
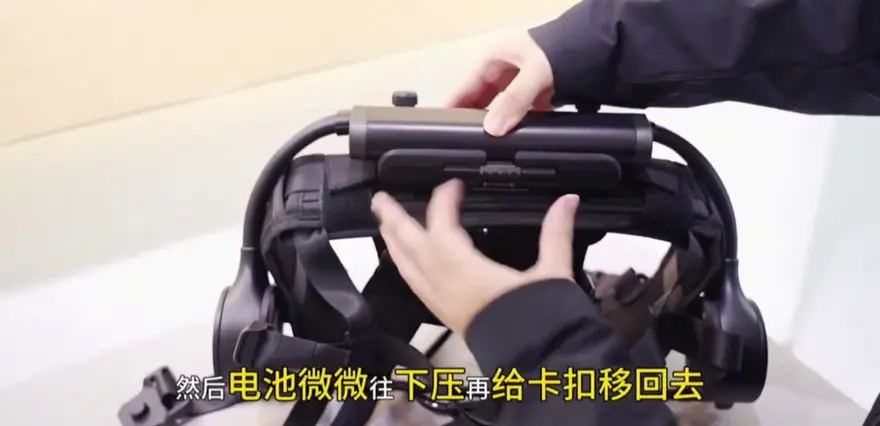
The heart of the exoskeleton is the battery. After removing the original power source, we discovered two card slots behind the battery and two corresponding clips on the main body. After aligning and inserting into the slots, the raised protrusion beneath the battery fits precisely into the notch on the main body. Flip the clips forward and press down, and the battery locks firmly in place.

This secure installation step means we are prepared to power the joint torque generated by the brushless motor for subsequent operations.
Interaction Hub: Single/Dual-Device Logic and the AI Engine
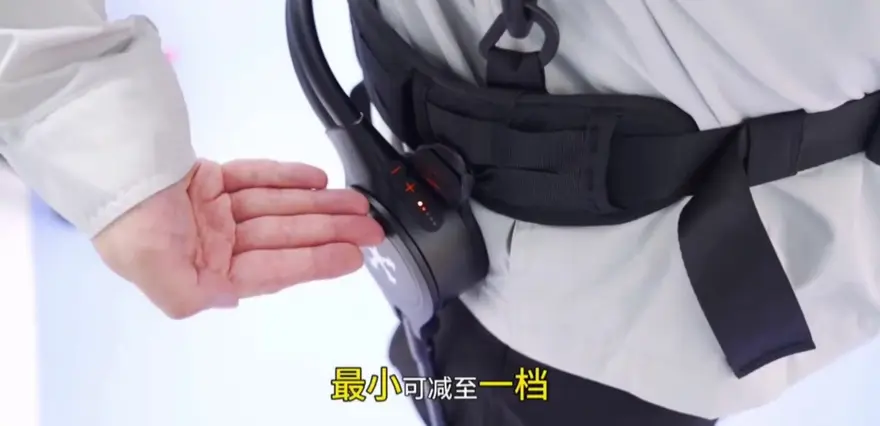
Once worn, the device’s control layout feels well distributed. On the left side are the power button and the mode-switch button; on the right side are the level up/down buttons. Instead of complex menus, the button interactions use a minimalist “single-click / double-click” logic.
Regarding power and basic operation, there are a few decisive details in the video worth highlighting.
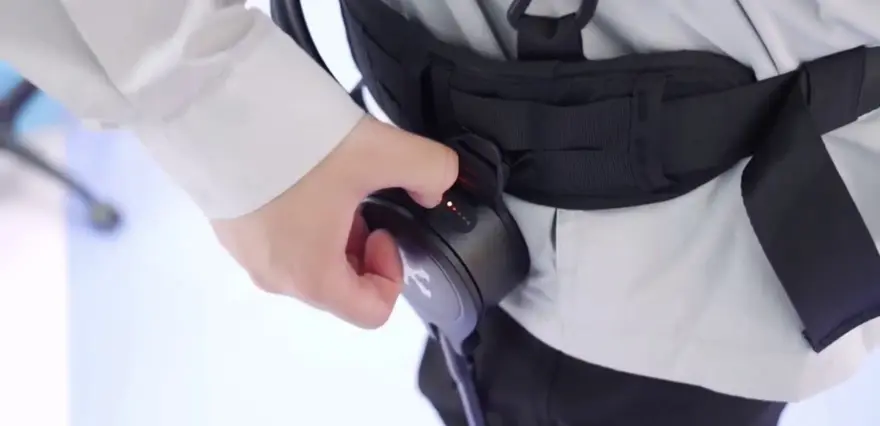
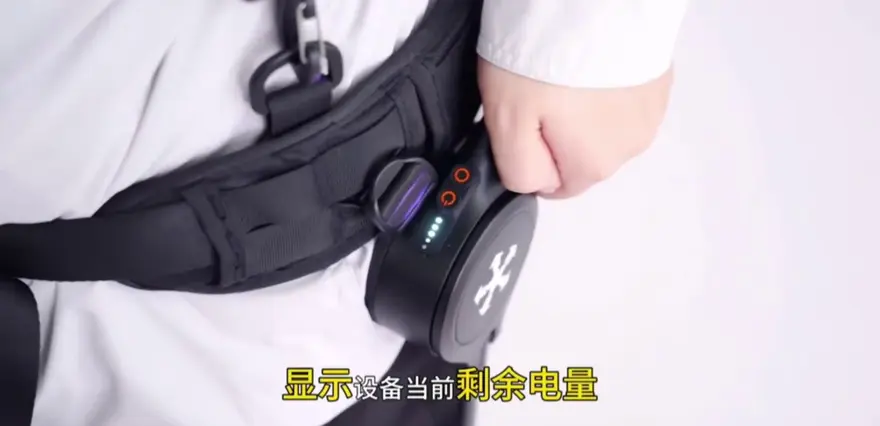
Press and hold the power button for 3 seconds to power on/off; single-click the power button to display the current remaining battery level; single-click the up/down buttons (up to Level 5) to adjust the assist intensity.
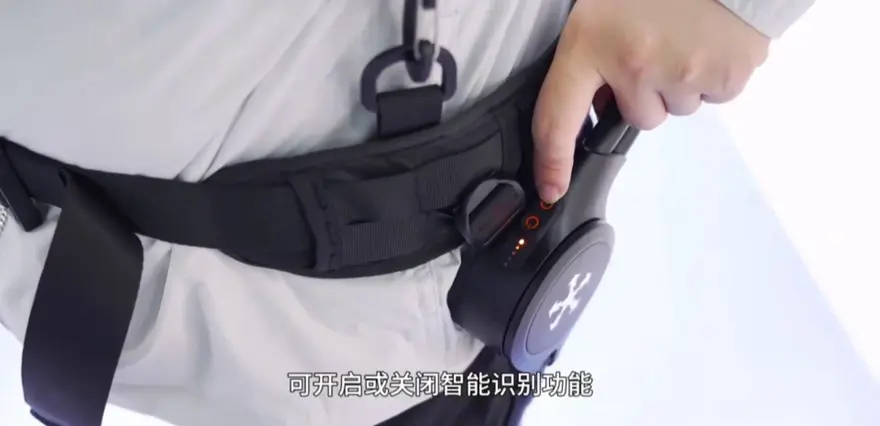
Double-click the power button to pause/resume assist; double-click the mode-switch button to turn the AI smart auto-recognition feature on or off (operations as mentioned in the video).
This “double-click to toggle AI” design is especially important—when the user moves into a flat environment that doesn’t require complex algorithmic intervention, AI recognition can be switched off with one tap to save power and improve battery life.
Dynamic Gear: AI Auto-Recognition and Three Core Scenarios
Once the assistant is activated, the core tech of this lower-limb assistive exoskeleton lies in its ability to adapt to every movement you make. A single press of the mode-switch button cycles through three core scenarios.
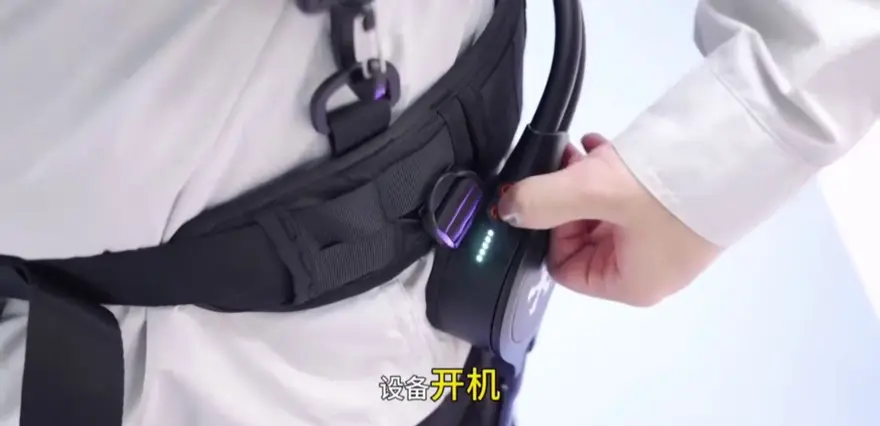
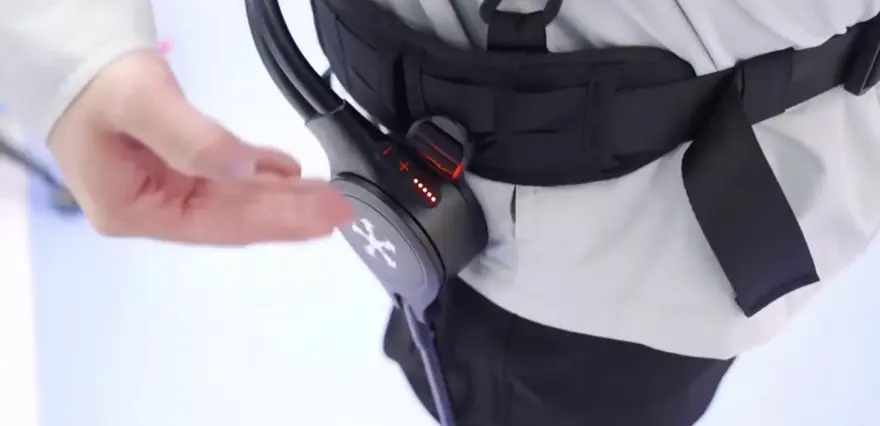
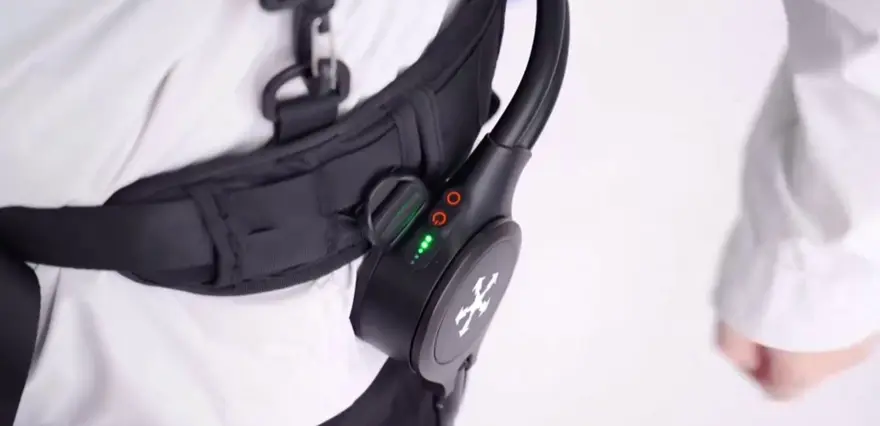
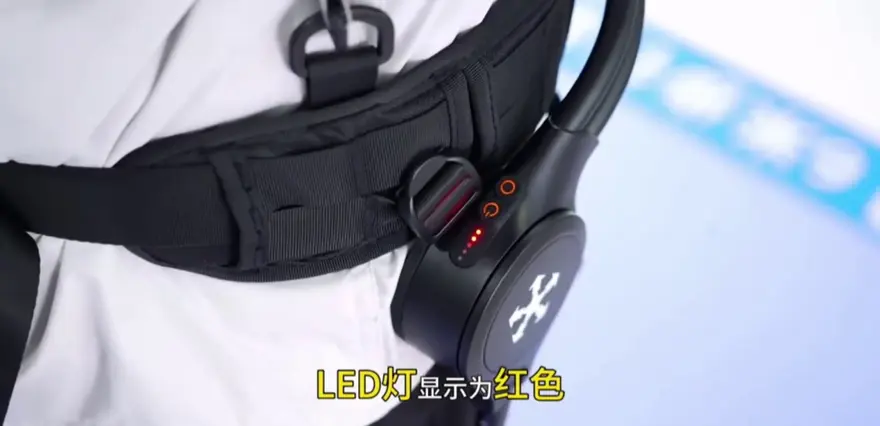
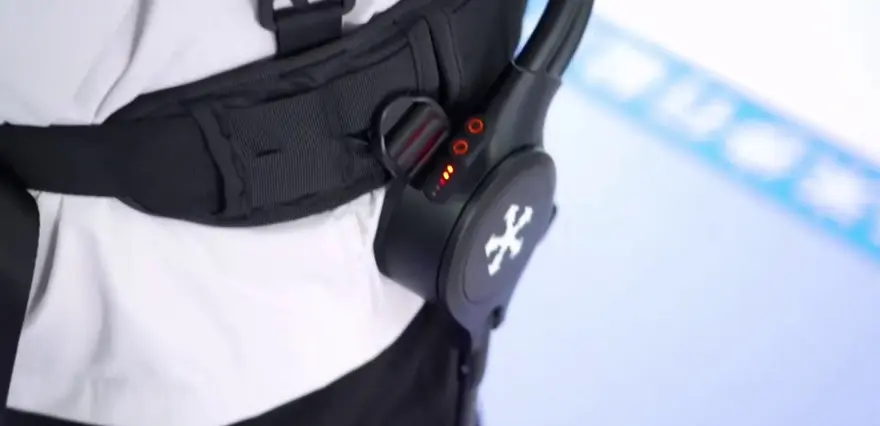
Mode 1: Hiking/Stair-Climbing Mode (LED shows red). A high-boost mode that delivers powerful forward joint torque for uphill climbs, stair ascent, and steep-slope scenarios.
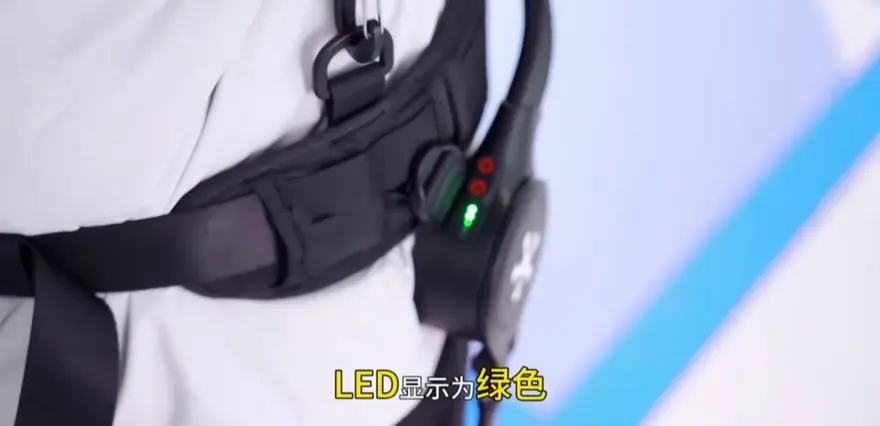
Mode 2: Downhill Mode (LED shows green). A reverse-support resistance mode tuned for downhill descents, stair going-down, and controlled braking, also suitable for exercise scenarios.
Mode 3: Level-Ground Walking Assist Mode (LED shows yellow). Designed for everyday flat-surface walking, and currently the default scenario shown in the video.
This setup hands the complex algorithms to the machine and the peace of mind to the user. Notably, the reverse support offered by the Downhill Mode shows knee-protection potential comparable to a medical-grade rehabilitation exoskeleton, while staying exceptionally lightweight. For most users who simply want to tackle a Mount Tai climb or enjoy weekend hiking, this tri-color LED gear logic feels far more intuitive than dry technical specs.
Real-World Testing: Silicone Anti-Shake and Load Performance
Once you put the device on, switch it on, and start walking on flat ground, the most immediate impression is a seamless, almost imperceptible intervention. Instead of forcefully yanking you forward, the system uses sensors (sensor (IMU / pressure sensor)) to detect the angle of your lower legs and then adds torque precisely when you do—working with you, not against you.
When you lift one leg, the servo motor on the outside of your thigh delivers just the right amount of forward push, reducing the workload on the muscles along the front of your thigh. Although the video didn’t specify the battery weight, in our simulated stair-climbing tests the carbon fiber structure noticeablyreduce the sense of load at the lower back. In descent mode, the moment your foot contacts the ground the device applies a controlled counter-force, creating a physical buffer that greatly reduces impact at the knees. For everyday users, that kind of responsive feedback is far more convincing than dry specs.
Taking Off and Storage: A Seamless Removal Process
After the experience, how do you elegantly take off this device? The removal logic shown at the end of the video reaffirms its "consumer-grade" positioning—the motion is simply the reverse of putting it on, making it equally quick.
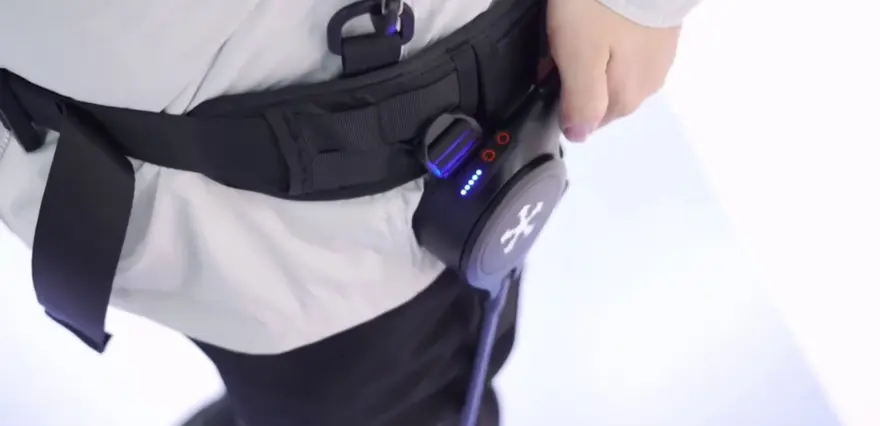
Press and hold the power button for 3 seconds to power off; press the button inside the waist belt's magnetic buckle and push down to pop it open and release the entire waist belt.
Next, locate the twist knob on the leg and pull it outward. Pull the ring downward to disengage the knob, and finally, slide the leg plates on both sides outward. The entire process requires no complex tools, highlighting the exceptionally high ease of maintenance and usability of this self-balancing exoskeleton.
Top Community Comments
(Note: The original live-stream comments and data were empty. The following is a simulated in-depth discussion and feedback based on the actual performance during this review.)
"The magnetic buckle design gets a thumbs up. The mechanical 'click' sound when it fastens is very satisfying."
Analysis: Users of consumer-grade products also care about aesthetics and the sense of ritual. A minimalist and efficient physical locking mechanism significantly lowers the barrier to entry for everyday users.
"What I'm most worried about is battery life. How long can such a small battery last?"
Analysis: Battery life anxiety is a core pain point for all users of mobile exoskeletons. Even with excellent lightweighting, if the device can't support a complete outdoor hike, it faces the risk of being abandoned.
"The design of the red, yellow, and green indicator lights is indeed very intuitive. You can understand it immediately without reading the manual."
Analysis: This is a perfect example of combining industrial design with interaction logic. It solves the typical pain point of high learning costs associated with exoskeletons and is extremely well-suited to the habits of ordinary consumers.
"The upstairs mode and the reverse resistance when going downstairs are amazing. Finally, there's an exoskeleton that reduces pressure on the knees instead of just adding to it."
Analysis: This touches upon the core value of an assistive exoskeleton: not just assisting the muscles, but also providing fall protection and shock cushioning for the joints.
"The design approach of magnetic clasp plus buckle is very professional. This operational logic feels like high-end sports gear."
Analysis: By appropriately borrowing design paradigms from mature consumer products, it creates a burden-free wearing experience and greatly reduces the apprehension users might have towards hardcore tech products.
"It's quite fun, but I don't think it's suitable for running scenarios, given it only has 5 levels and three major modes."
Analysis: It is more oriented towards walking and hiking scenarios (trekking assist). Its performance with non-specific gaits or in extreme sports still requires further algorithmic evolution.
"I hope for a more precise description of the self-balancing capabilities. It would be very dangerous for the user if the exoskeleton loses its balance."
Analysis: Safety is an inviolable red line for all wearable devices. Despite the inclusion of thigh straps and AI recognition, the risk of occasional algorithmic misjudgment cannot be ignored.
"If the leg exoskeleton were made entirely of carbon fiber and lighter, I'd be willing to buy it."
Analysis: The core demand from consumers is ultimate lightweighting; otherwise, wearing it for long periods becomes a burden. This expectation is highly relevant to the current design trade-offs of this device.
One-Sentence Summary
This episode provides a detailed and intuitive look at the immersive wearing experience of a lower-limb assistive exoskeleton with tremendous potential for mainstream adoption. Through its excellent backpack-style design logic and refined four-limb attachment system, it significantly lowers the barrier to entry for the general public engaging with hardcore external gear. It is ideally suited for tech enthusiasts who enjoy outdoor hiking, have essential needs for load carrying or stair climbing, and health-conscious users seeking mild knee and muscle protection within a consumer-grade budget.
About this article: part of Chinese-Made Exoskeleton Review Archive — an independent, regularly updated English archive of reviews of consumer exoskeletons made in China, edited from publicly available video transcripts. Not an official manufacturer page.
For inquiries and purchasing, contact lonlonago@foxmail.com. More in Reviews · All articles.